Menu
Home Decor

8 Creative Ideas To Light Up Your Home With Mason Jars

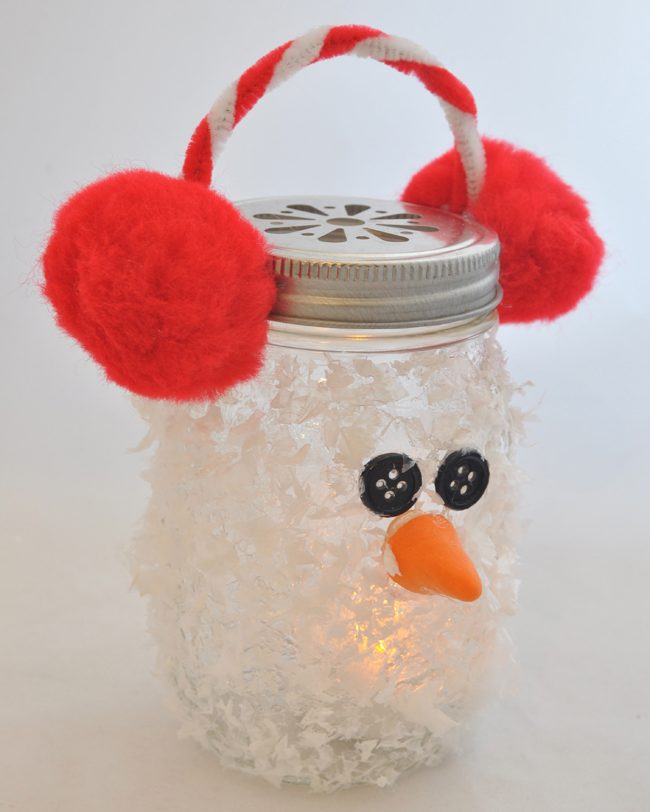
Glass jars are like an artist’s canvas: creativity is only limited to the spectrum of your imagination. Color them, set them up with original pieces, use them as a vase, pack your salads on the go – the internet is full of versatile uses for this mini magic. Purchase on sale through here.

Glass jars are so all the rage right now that even the Ball Corporation released a modern design jar last year that will add a twist to your craft projects. But will Mason Jar’s founding father, John Landis Mason, ever rest in peace? I wish I could see this revival of their canning jars and the growing devotion of the people towards them!

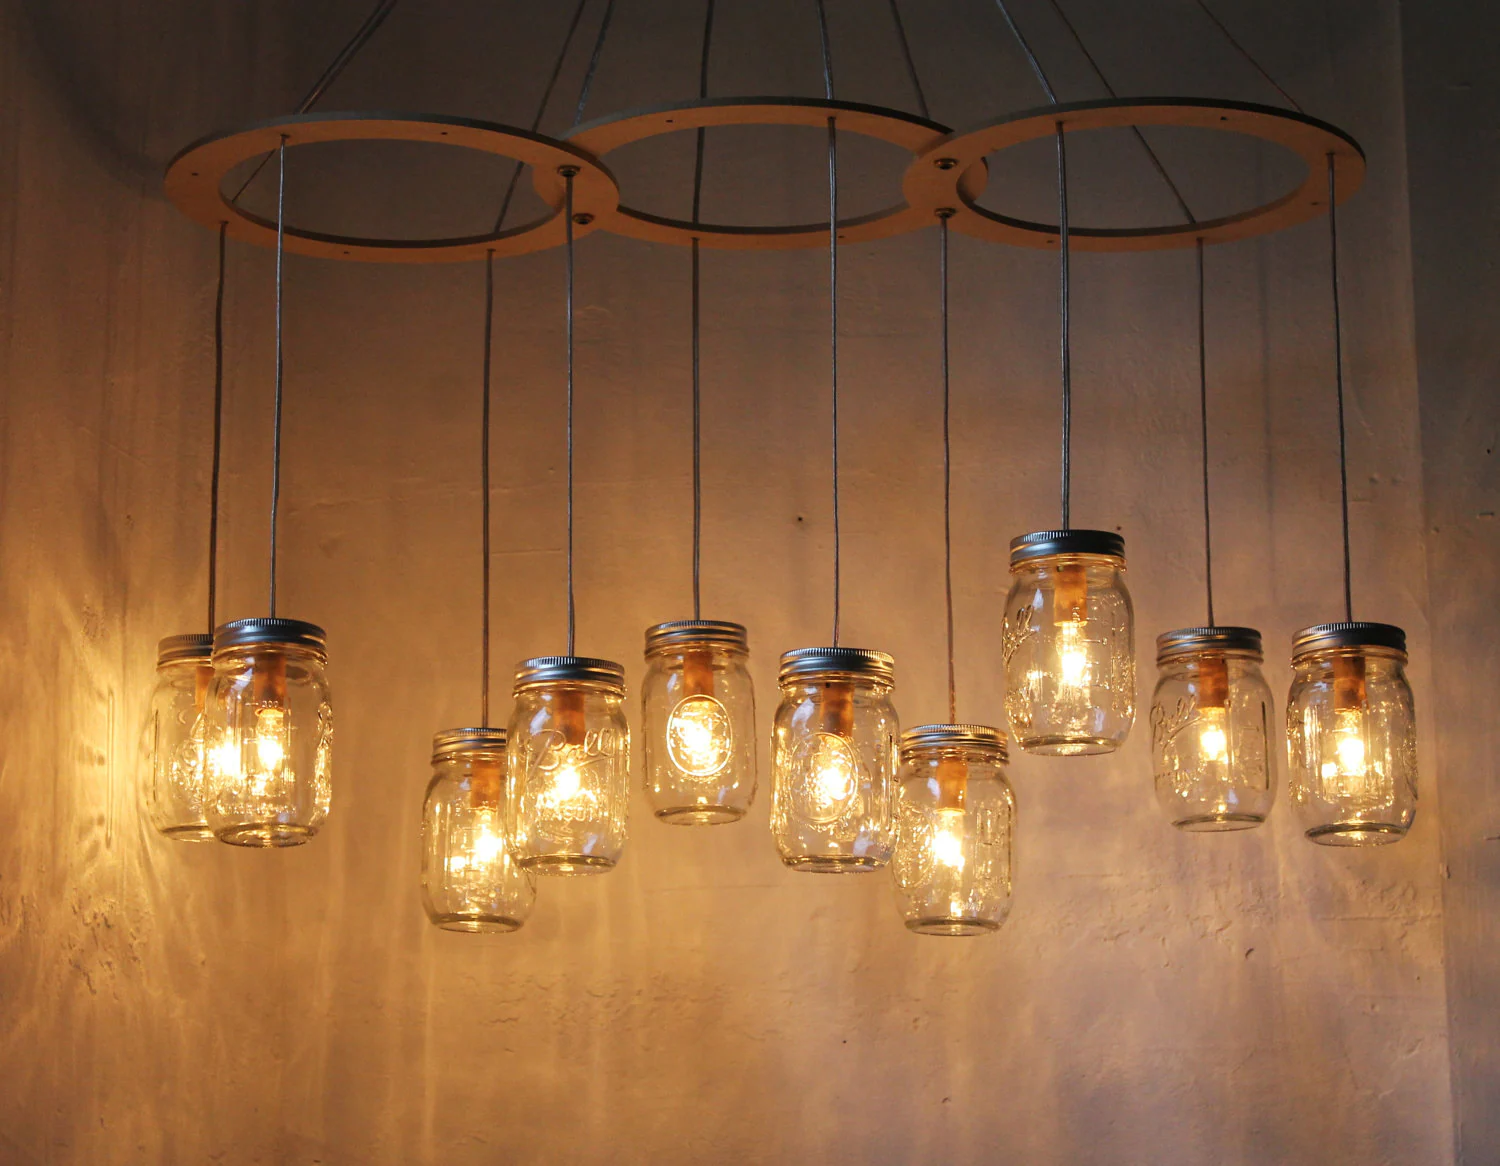
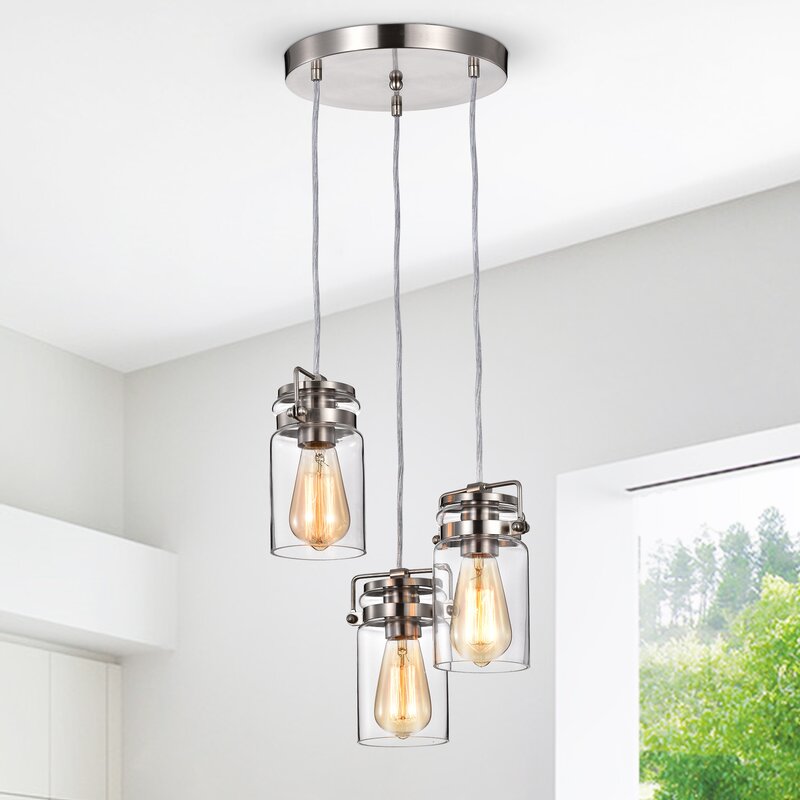
However, the best combination of utility and design is when you bring together two geniuses of the moment: glass jars and lights!

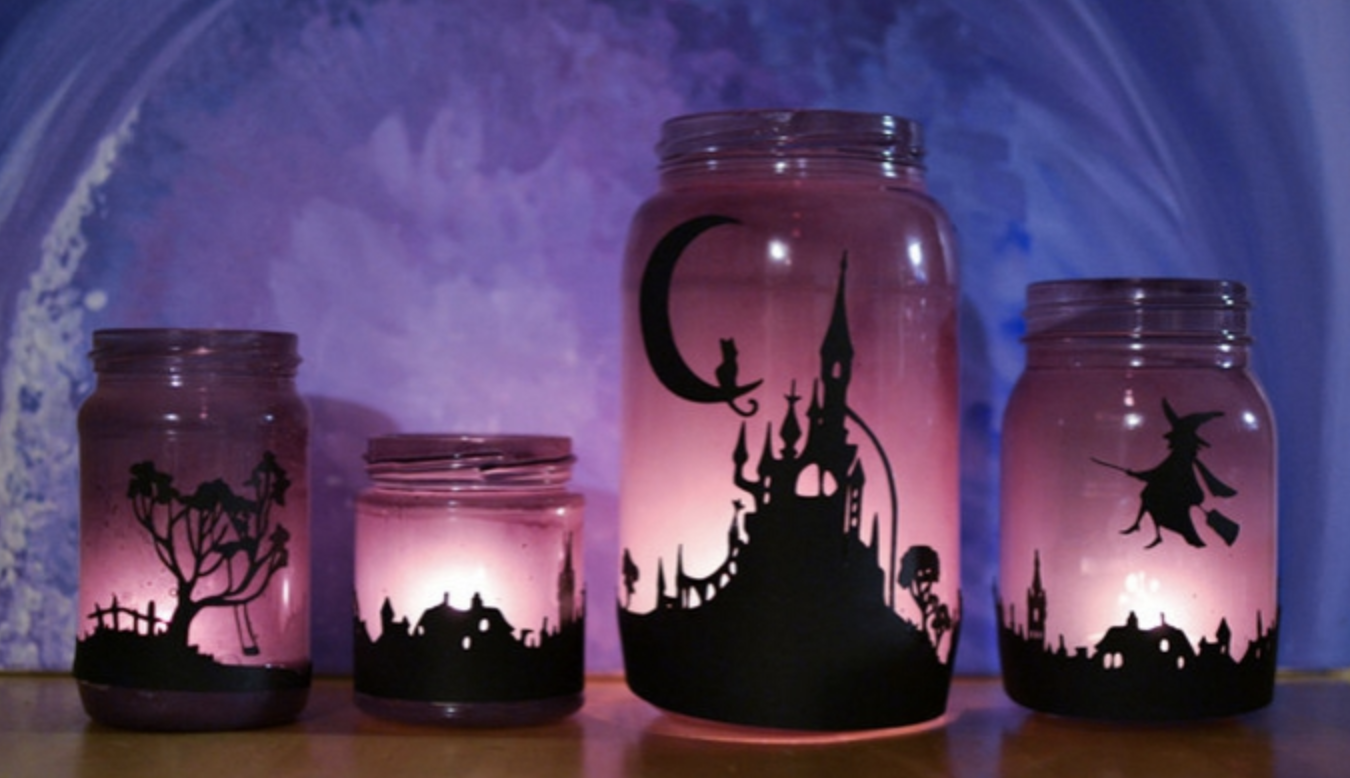
There is something ethereal and elegant about the lights in Mason jars, have you noticed? It can instantly brighten up a drab corner of your home in the blink of an eye or add character to your patio or porch, ceiling, or shelves.

Warning: don’t overdo it. I mean don’t clash with the arrangements by putting too many varieties of jars together. Remember, multiple jars should relate to the decorating area. So, without further ado, let me quickly tell you about 10 creative ideas to light up your home with Mason jars.

Mason Jar Chandelier

If you dream of cascading lights but shudder at the thought of those expensive crystal chandeliers, then these mason jars will definitely rescue you.

You can imagine lighting up your kitchen island, hallway, or even a makeshift outdoor dining room in your garden giving it a rustic touch.

Suspending the jars from an aged wooden board with the help of hemp ropes or a vintage retro industrial look using the filament bulbs and black cords for suspension. You can create your own or find them pre-designed on Amazon.

Mason Jar Chalkboard Candle Luminaries

This makes the gifts so cute and fun and you can personalize them with something the recipient likes, such as a cat or leaf or as pictured a Valentine’s heart.

First, fix a design and get a corresponding punch to cut the shape from a vinyl sticker sheet. Glue the cut shape onto the smooth side of a jar. Paint it with chalkboard paint or spray paint.

After it dries, remove the adhesive vinyl sheet and you will find a small window with the desired shape on the black jar.

Cure the paint by rubbing it in with chalk and then wiping it off. Add more ornamentation by stippling with a paint pen or drawing cat whiskers with white chalk. Fill the bottle with candies and a votive candle! You can find chalkboard paint here on Amazon!

Snowman Ornamentation Candle Light

With the big parties knocking on our doors, how can we keep the holidays out of our little lights?

This is an easy way to relive your childhood when snowfall meant running outside to create your own snowman.

All you need is a good quality non-toxic fake snow from Amazon, a pair of black buttons for the eyes, orange putty for the carrot nose, a glue gun to glue it on, and a tube of Decou-page. If you want to make cute accessories like a pair of earmuffs, use pipe cleaners and pom-poms.

Place a votive LED light inside for soft lighting. Use this ornament to light up a shelf or place one on each step of a ladder to have your own army of snowmen ready to take down the Grinch if he appears to steal your Christmas.

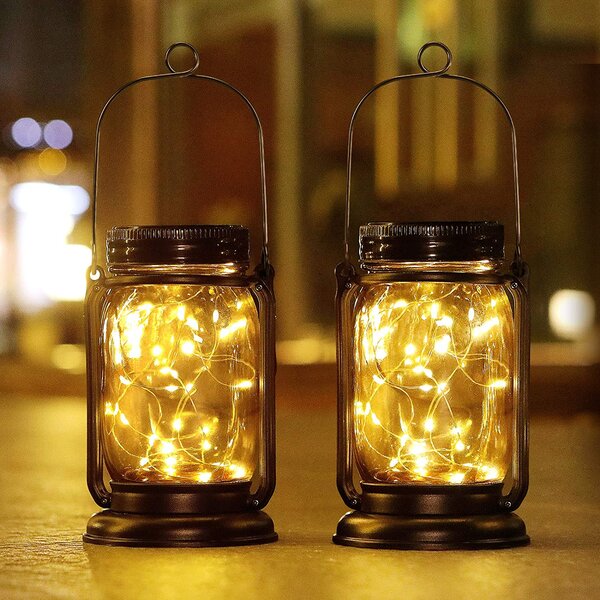
Mason Jar Solar Lights

Why does the sun have to disappear for the day at sunset when you can save some solar energy to light up your night in a very beautiful way?

You can now buy these pre-made on Wayfair, but creating one at home is comparatively easy and very thoughtful as well. The choice is up to you whether you want to use solar-powered fairy lights or garden stakes.

But it has to be proportional to the size of the bottle. All you need to do is to conveniently attach the solar panel to the lid of the jar facing outward and upward so that it can be charged when you leave it in the sun.

Mason Jar Pendant Lighting

Pendant lights add such dreamy old world charm to the bedroom.

Enhance the effect by selecting a vintage socket and Edison bulb.

Drill a hole in the lid of the jar to secure the cap and also drill holes in the rest of the cap to allow heat from the bulb to escape.

Fit everything together and add the cage and hang it from the ceiling.

If you don’t like the cage hook, you can create pendant lights and hang them from wooden wall brackets or decorative metal hooks.

If you’re wondering, the Metal Lighting Lamp Guard for Vintage Pendant Lights and Lamp Holders can be found on Amazon!

Enchanting Halloween Glow in the Dark Lanterns

Creepy Halloween jars are just a perfect and cool decoration – minimal light with just the right drop of drama and lots of creativity that can be downright artistic, weird, or insanely fun. The simple ones can be just a layer of white paint and shaky eyes glued to them. You can add a layer of detail by creating “Mummy Mason Jars” by wrapping the jars with gauge tape, albeit after lathering the outside of the bottle generously with decoupage glue. Of course, put a small flickering wick LED candle inside the jar to bring the horror to life. You can find a spooky good deal for under $ 10 on Amazon.

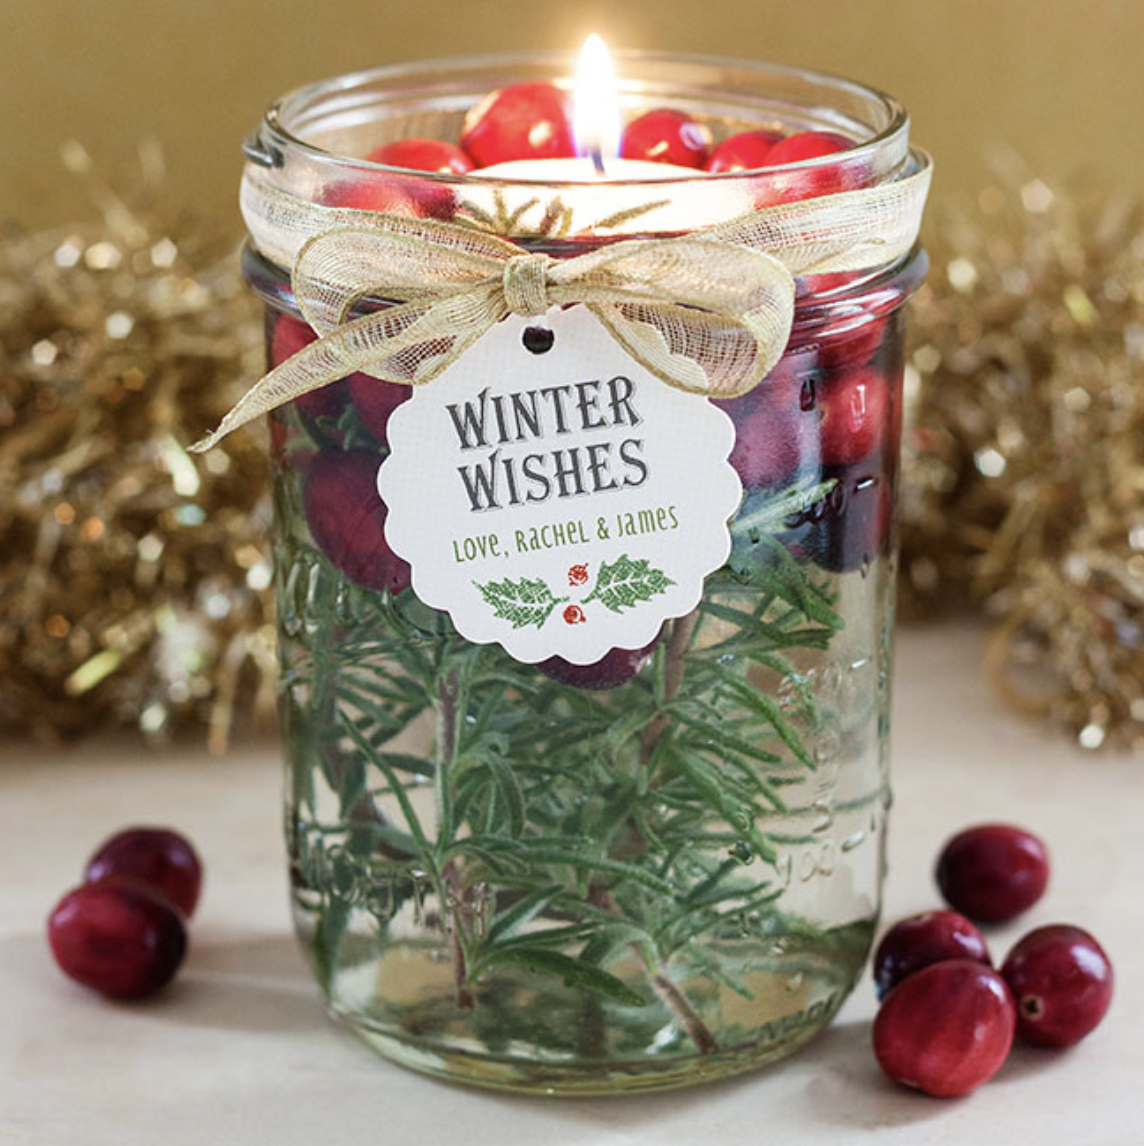
Homemade Candle Centrepiece in a Mason Jar

Such a simple idea but it comes with so many varieties!

You can choose fresh supplies like sprigs of rosemary and blueberries and fill the bottle 3/4 with water and place the tea light candle comfortably in the middle of the berries. Tealights can be found for just under $ 28 on Amazon.

You can create a bed of pebbles or pretty seashells and fill it with water and float a candle. Tie a string for a country feel.

Spruce up your backyard summer gatherings with this naturally scented citronella essential oil, mixed water, floating candles, lemon and lime wedges, and fresh herbs from your garden.

Mosaic Mason Jar with Electric Candle

This is like creating a beautiful puzzle in a jar.

The best way to do this is to keep two things in mind: the adhesive used to stick the tiles needs to be transparent because the candlelight needs to filter through and you need to bond the design on a dry surface or sheet first.

That way, the result will be sharp and the effect will be colorful.

Or if you want to create those grids then you need to use unsanded grout and apply it as instructed after fixing the tile pieces in the jar.

Once you’ve sponged the grout and finished your mosaic work, place a candle inside to illuminate your artwork. For less than $ 18, you will have a work of art!

No Comments

    Leave a Reply